
Tapps33
Full Access Member
Hey all! I thought I'd post this as a quick heads up for others out there if you find yourself struggling with water in the footwells and you've cleaned your sunroof drains!
Long story even longer, I had cleaned all 4 drain ports and thought I was good to go, but still had water pooling up in my passenger footwell every time it rained. I ordered 4 brand spanking new sunroof drain lines because if I was gonna drop the headliner, I was gonna swap them all.
The headliner came down, and to my surprise, all my drain lines looked really good...I was expecting a crack somewhere around the sunroof frame, or a hole in one of the lines....nothing. I went ahead and swapped them anyway, thinking perhaps it was just something I couldn't see. Then it rained....thankfully with the headliner and everything else still out of the car...and I had water in my passenger footwell again.
After using the "hose" method to search for leaks, I found something VERY interesting! I had water coming in from some very unusual places...that's right, "places" not just "place."
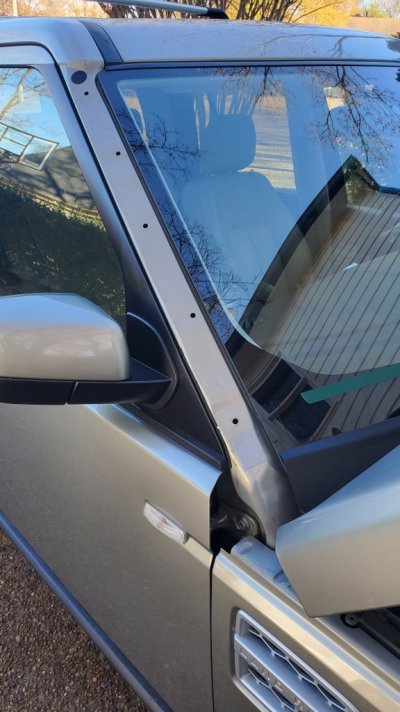
After A LOT of searching, I finally found where the main source of water was. I took pictures, but it's hard to describe and a little difficult to visualize even with the pics, but here goes. There is a cavity in the body panels just behind and below the side air intake on each side of the rover. LR has put some foam in a plastic bag and shoved it in there for what I can only assume in for noise reduction and anti vibration. In theory, any water that makes its way into that cavity should just flow out the tiny drain holes "built" into the folds/joints of the sheet metal. Unfortunately, in my case, those holes had become filled with dirt, leaves....junk etc... When this happened, the water fills up a little bit in that cavity, and in doing so finds another exit...that really should have ben sealed with seam sauce from the factory. This particular seam is located in the passenger (or driver) footwell, behind the kick panel, and behind the cabin wiring harness looms. FYI finding this leak was a giant PITA. I sealed it with some underwater rated sealant and everything has been dry ever since. I also pulled the foam out and then cleaned the cavity....as best I could. Getting in there is extremely hard. Most of my pics are from my borescope that I was able to snake in there and look around with.
For reference, here's the cavity:

This is what it looks like on the inside...don't forget, there's a piece of foam in here, but I have it out:

Here's what it looks like on the inside of the cabin...doesn't look like a leaking point, does it....

Here's a different pic showing the hole leaking water:

Ok, I can only post 5 pics, so I'm going to continue with another post...cause this is still only 1 of the 3 leaks I had!
Long story even longer, I had cleaned all 4 drain ports and thought I was good to go, but still had water pooling up in my passenger footwell every time it rained. I ordered 4 brand spanking new sunroof drain lines because if I was gonna drop the headliner, I was gonna swap them all.
The headliner came down, and to my surprise, all my drain lines looked really good...I was expecting a crack somewhere around the sunroof frame, or a hole in one of the lines....nothing. I went ahead and swapped them anyway, thinking perhaps it was just something I couldn't see. Then it rained....thankfully with the headliner and everything else still out of the car...and I had water in my passenger footwell again.
After using the "hose" method to search for leaks, I found something VERY interesting! I had water coming in from some very unusual places...that's right, "places" not just "place."
After A LOT of searching, I finally found where the main source of water was. I took pictures, but it's hard to describe and a little difficult to visualize even with the pics, but here goes. There is a cavity in the body panels just behind and below the side air intake on each side of the rover. LR has put some foam in a plastic bag and shoved it in there for what I can only assume in for noise reduction and anti vibration. In theory, any water that makes its way into that cavity should just flow out the tiny drain holes "built" into the folds/joints of the sheet metal. Unfortunately, in my case, those holes had become filled with dirt, leaves....junk etc... When this happened, the water fills up a little bit in that cavity, and in doing so finds another exit...that really should have ben sealed with seam sauce from the factory. This particular seam is located in the passenger (or driver) footwell, behind the kick panel, and behind the cabin wiring harness looms. FYI finding this leak was a giant PITA. I sealed it with some underwater rated sealant and everything has been dry ever since. I also pulled the foam out and then cleaned the cavity....as best I could. Getting in there is extremely hard. Most of my pics are from my borescope that I was able to snake in there and look around with.
For reference, here's the cavity:
This is what it looks like on the inside...don't forget, there's a piece of foam in here, but I have it out:
Here's what it looks like on the inside of the cabin...doesn't look like a leaking point, does it....
Here's a different pic showing the hole leaking water:
Ok, I can only post 5 pics, so I'm going to continue with another post...cause this is still only 1 of the 3 leaks I had!